Export Transactions and Generate a Report
To get a report of your payments, export the transactions table of a plugin to a CSV or Excel file. The export contains exactly the transactions the table is showing, so filter first if you only want some of them, for example only the unpaid ones.
Who can do it: any dashboard user. You export the transactions you are allowed to see. If transactions are missing, see Why can't I see all the transactions?
Need the same report every day, week or month, sent by email or SFTP? Set up a scheduled transaction report instead.
How do I export my transactions?
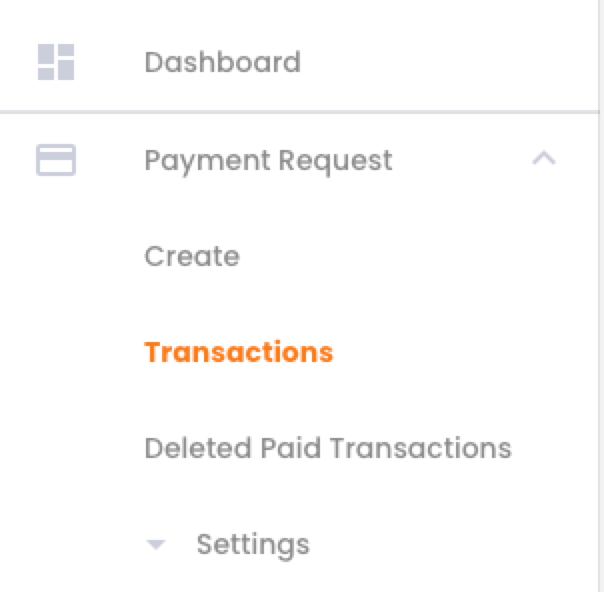
In the sidebar, open the plugin, for example Payment Request, and click Transactions.
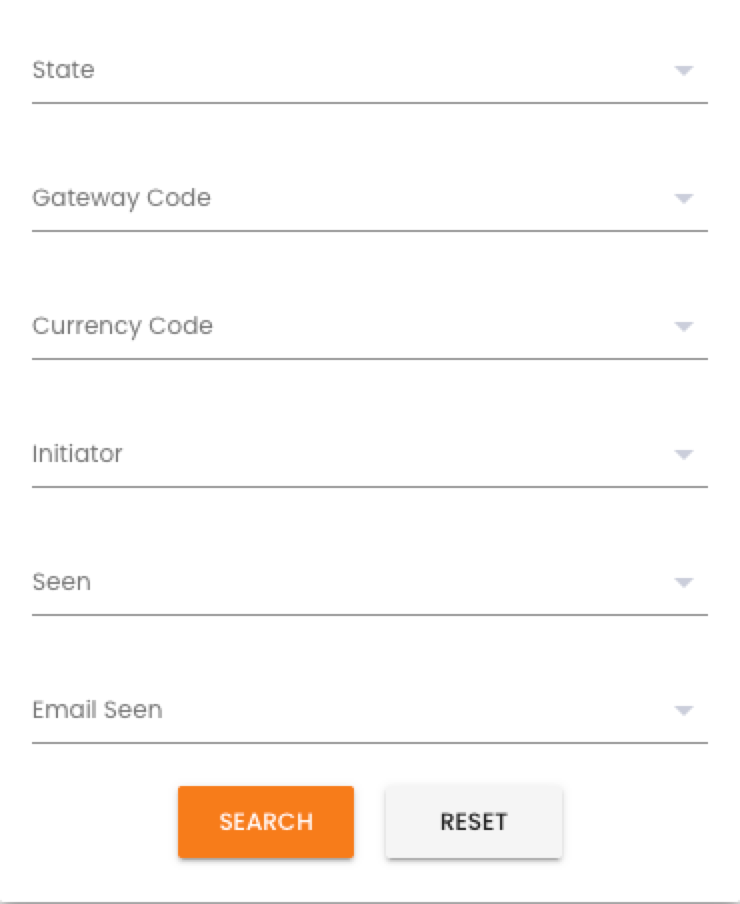
Optional: click Filter, choose what you want to see, for example a Created period or a State, and click Search. The export keeps your filters and your search.
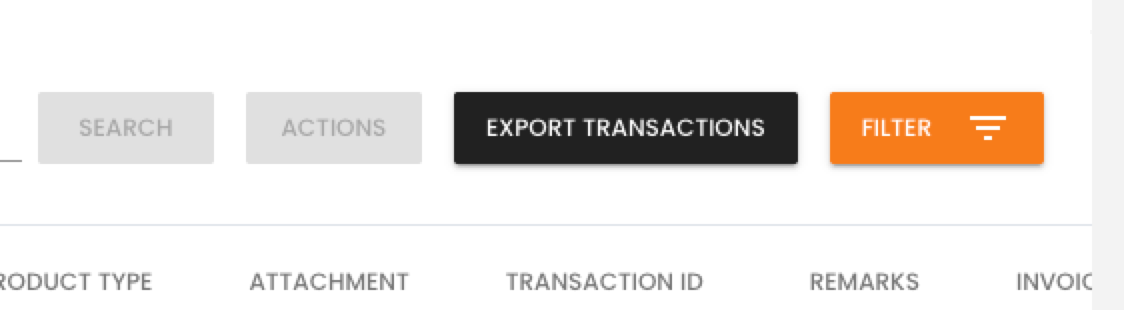
Click Export Transactions above the table.
Under Timezone, pick a timezone in Select timezone if the dates in the file should use a specific one.
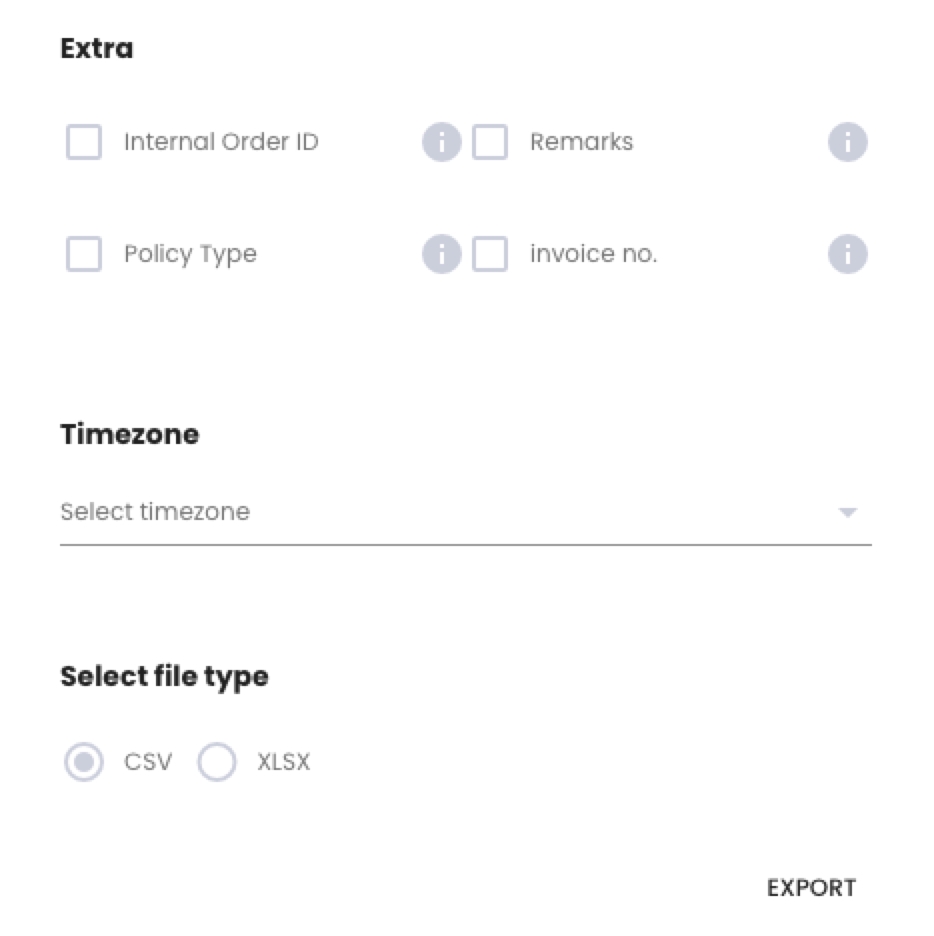
Under Select file type, choose CSV or XLSX.
Click Export.
The Generated Reports page opens. The file is prepared in the background: when your export shows a download icon in the Download column, click it.
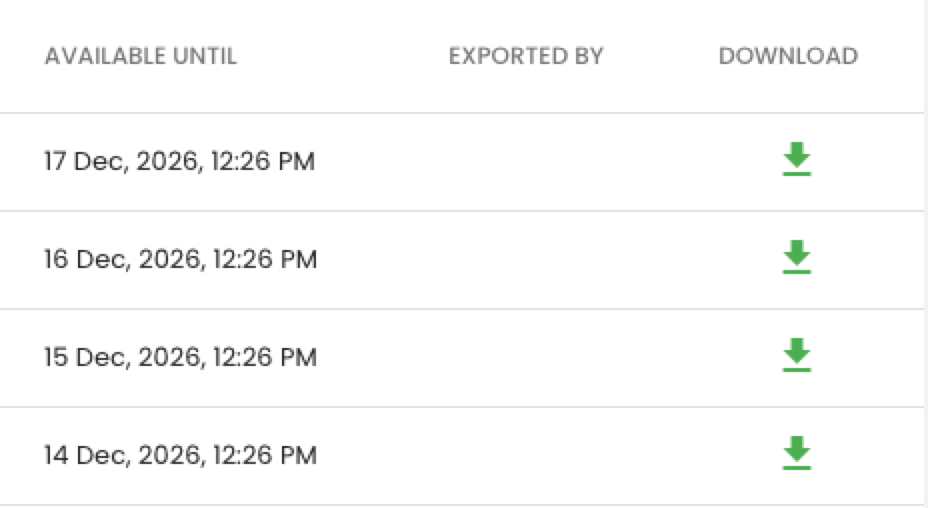
You can leave the page while the file is prepared. To come back later, click Generated Reports in the sidebar. Each file stays there until the date in its Available until column. You see only your own exports.
The file has one row per payment. Refunds, voids and captures made on a payment are not separate rows.
How do I export only the unpaid transactions?
Open the plugin's Transactions table.
Click Filter.
In State, choose All Unpaid.
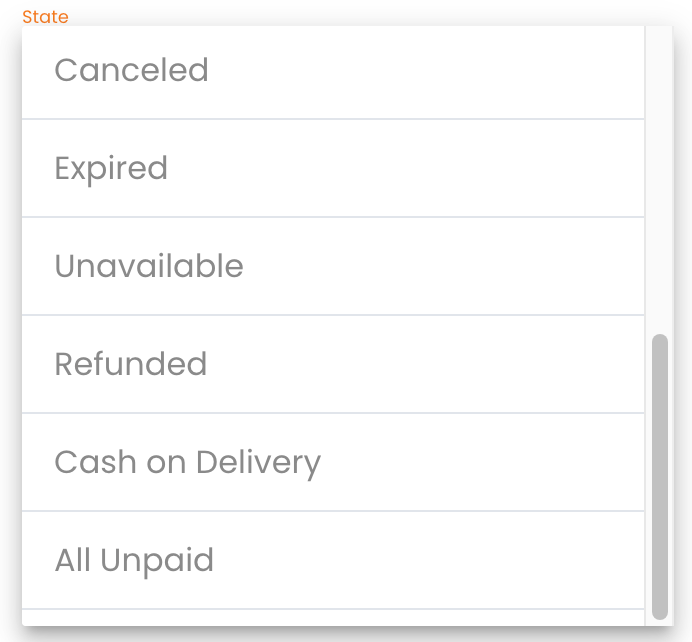
Click Search. The table now shows only unpaid transactions.
Click Export Transactions, choose CSV or XLSX, and click Export.
Download the file from the Generated Reports page.
All Unpaid covers the states Created, Pending, Attempted, Failed, Expired and Unavailable. To export the paid ones, choose Paid in step 3. See Transaction States for what each state means.
If there is no State filter, your administrator has removed it. Ask them to add it back in the filters configuration.
My export takes too long or never finishes
A large export can take a long time, and an export that runs for more than an hour is stopped. Export a smaller set of transactions each time:
- Open the Transactions table and click Filter.
- In the Created filter, set a period of one month, then click Search.
- Click Export Transactions and export that month.
- Repeat for the next month.
Other things that help:
- Choose CSV instead of XLSX. An Excel sheet cannot hold more than 1,048,576 rows, and rows above that limit are left out of an XLSX file.
- Add more filters, such as State or the connector, so that fewer transactions are exported.
- If the Download column shows a red X, the export failed. Hover over it to read the reason, then try again with a shorter period.
Choose the columns of the file
The columns come from the plugin's dashboard report configuration. An administrator sets them in Administration panel > Report > Dashboard report configs: see Dashboard Export.
Users with the Can view export settings permission also see the list of columns in the export window and can untick the ones they do not want.
What's Next?
- Search & Filter Payments -- Show only paid or unpaid transactions, or find one transaction
- Transaction Reports -- Schedule reports by email or SFTP
- Transaction States -- What Paid, Pending, Expired and the other states mean
- Settlements -- What to check when the money has not reached your bank